
This is a quick post to provide a link to my general modelling blog – latibuliser.com and a post there about a very scary incident in the shed last night. If anyone else also dabbles with a bit of RC do read and check your LiPo batteries and charger.
New Page Added
Today I’ve added a new page to the Construction Stages page, with work starting on the exterior, and time lapse video.
Work on the rear cockpit bulkhead / engine firewall.
Lots of nice, slow work on the plumbing at the front of the engine bay this week. Have a look at more photos in the updated Cockpit page.

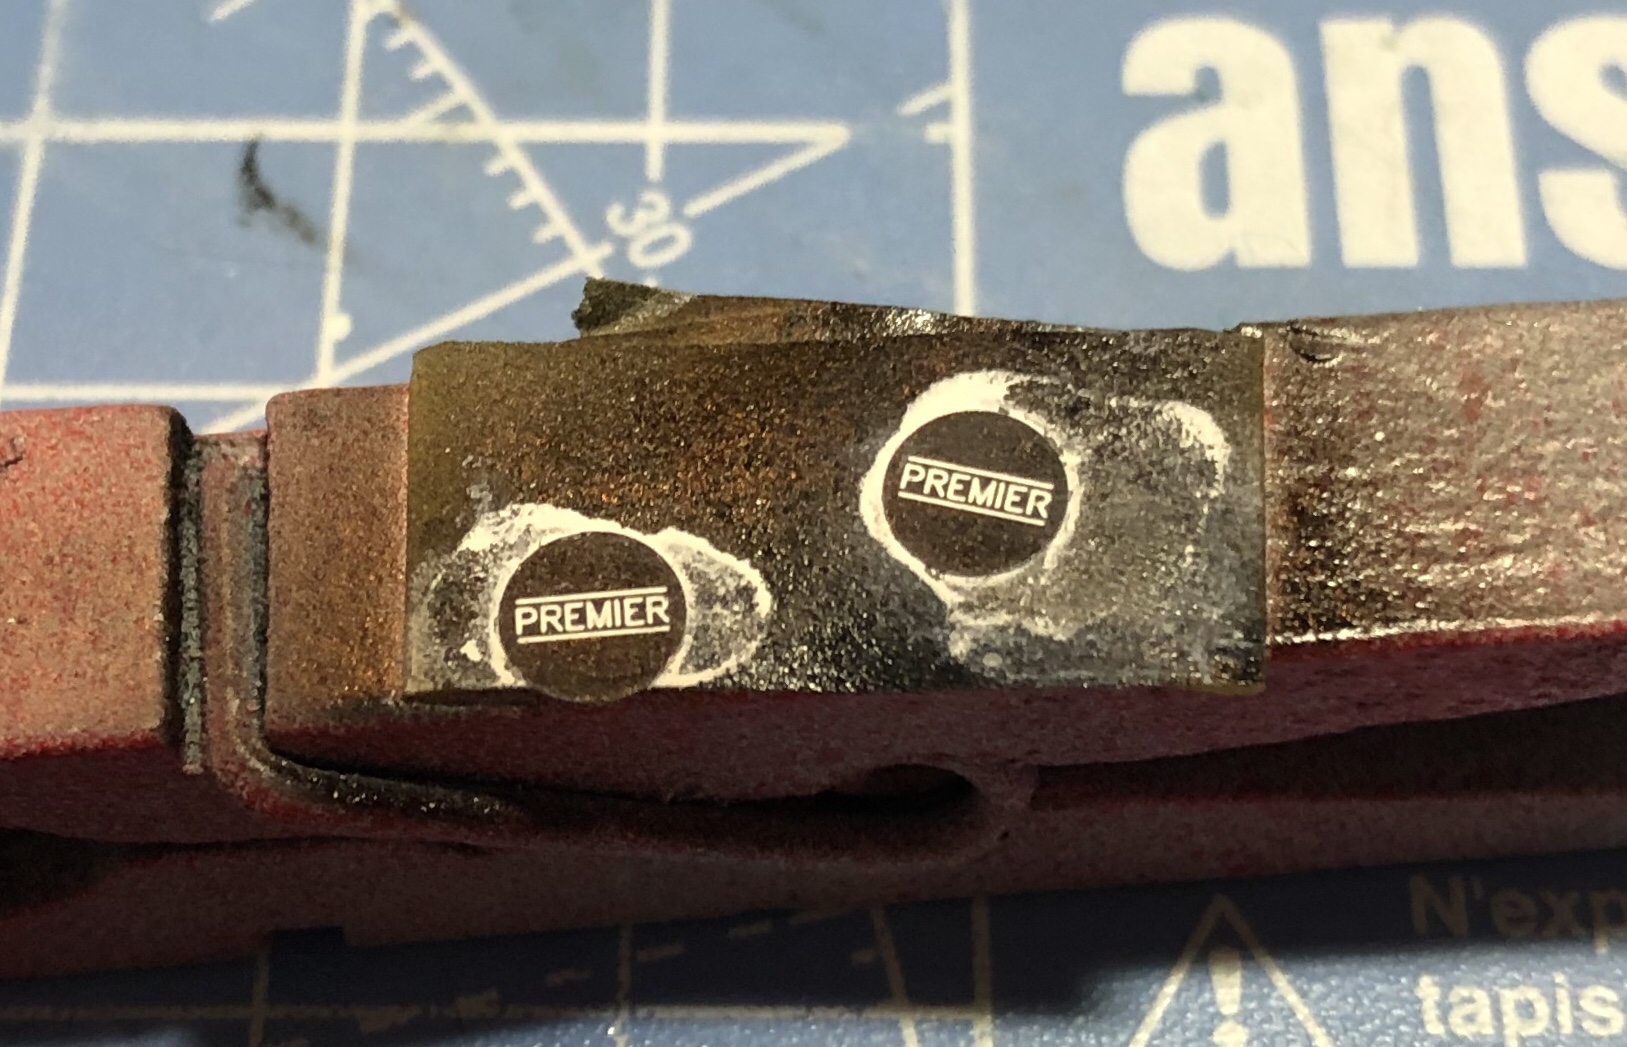
Etched metal awesomeness
A quick phone shot of the valve covers for the refuelling system. Etched metal with black paint and Flory Models white weathering wash.
Rebuilding a Wankel (snigger) engine
This is a great video, if you’ve ever wondered how a rotary is built and operates.
An update to the Cockpit page and different approach to modelling
There’s an update to the cockpit page, showing the dash finished and progress on the coaming.
Building this model has also refreshed my approach to modelling, with much more time spent on preparation and getting to know the parts before construction. It’s such a complex kit, with so much more detail than the scales I’m used to it’s vital to approach it differently to ensure as good a result as possible. Before even starting to build it was necessary to sort the metal parts in to categories.

I’ve also found it useful to have some ‘scratch’ areas in another box for those parts that have 30 or 40 copies, and one for the parts needed for the current stage of construction.

It’s a more methodical approach than my usual. Let’s face it, if I lose one of these parts I am in real trouble! Normally as a build progresses the bench becomes more and more cluttered until a good tidy up as each model is completed. Now my bench is tidied and cleared at the end of every modeling session, and it’s a revelation that there’s so much space to be made use of!
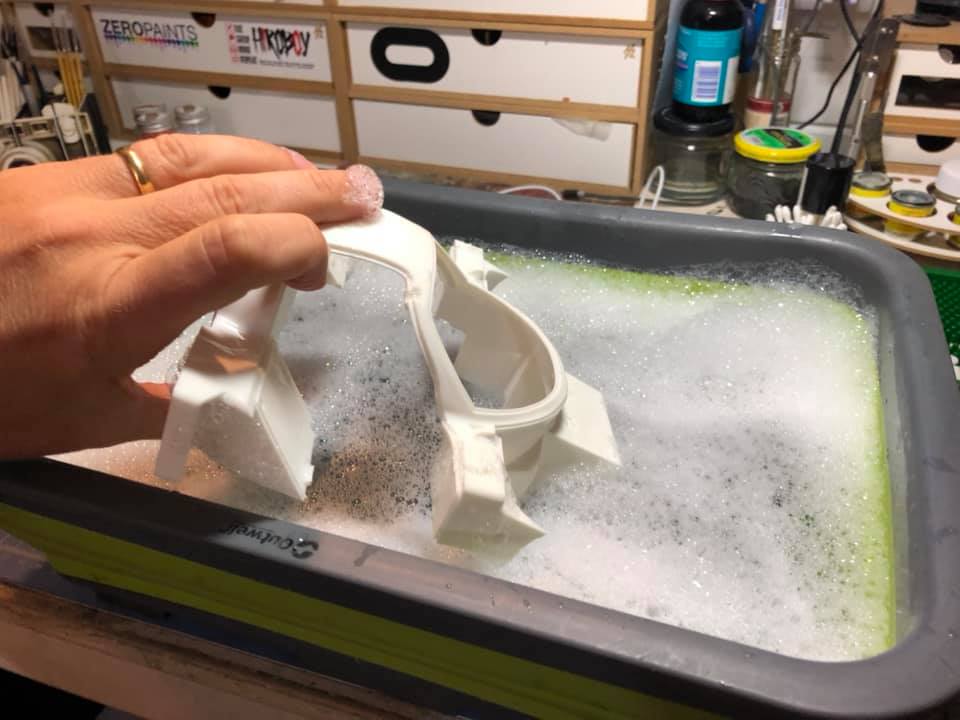
October 29 – Part preparation
After two weeks away on holiday I was eager to get back to the shed yesterday, and take a step back from the cockpit detailing to do a bit of preparation. Standard advice for all resin parts is to gently rinse them in lukewar soapy water to remove any of the oily release agent that might contaminate them. I’ve never had any trouble when neglecting this in the past but when I sprayed Tamiya Grey Fine Surface Primer on to the dash coaming it pooled and ran as if the surface was still quite greasy. It was, therefore, bath night for the rest of the resin parts.
Build Update 12th October
There’s an update to the cockpit build section. There’ll be a short break while I’m busy elsewhere for a couple of weeks.
Build Update 10th October 2019
The build of the Mazda is well under way. There are some photos of progress in the ‘Cockpit’ section. Progress may be sporadic as I intend to make the most of my time with this kit. It’s such a complicated, long term project that it’s already changing my approach to modelling. There’s no rush to finish anything, and no thoughts of “Well, that’ll do for show distance.” If something is not good enough, it’s done again until it is. (The glass in the main cockpit display was made three times before I was happy.)
As updates might come in fits and starts please do sign up to be updated when they are posted.
